An Alternative Approach to Sprint Planning - Introducing Hippogriff
Background
One of my first jobs in engineering was working for a medical device company. This is was pretty cool as I wrote software that interacted with the device to show measurements and give recommendations to the physicians about those measurements.
To ensure that things were working correctly, we had a department called V&V (Validation and Verification). I had never heard of this term before in my career, so my boss told me that it was responsible for ensuring that we built the right thing because it's engineering's job to build it right.
These two principles (build the right thing and build it right) have stuck with me during my career. So much so, I believe this may have been the start of my interest in product engineering and wanting to understand the "why" behind the stuff that I build.
It was the same job that I was introduced to the concept of Kanban, and the idea of eliminating waste from our process as it inherently slows us down by focusing on the wrong things. I'm known to be a process improver at heart and the idea of Kaizen (continuous improvement) resonates with me.
So when I think about how many teams are tackling work breakdown and estimating, I can't help but think that we're spending our time on the wrong things and not enough on the right things.
My Experiences with Engineering Teams Today
A common piece of feedback with teams that are following Scrum principles is that they feel like they are in meetings all the time and there's no time to do the actual work. As someone who has a love/hate relationship with meetings, this is totally understandable.
There are a set number of meetings ("activities" in Scrum parlance) that teams follow, one of which is sprint planning, a time to make sure that what the team is working on is aligned with priorities from product.
While I find value in the synchronization with product, I don't find very much value in the estimation portion of the meeting as it gets the focus on the wrong things.
If we look at the value that estimates provide, the goal is to ensure that the team is taking on a reasonable load for the sprint (e.g., what are our commitments) and not over-extending as that can cause burn-out.
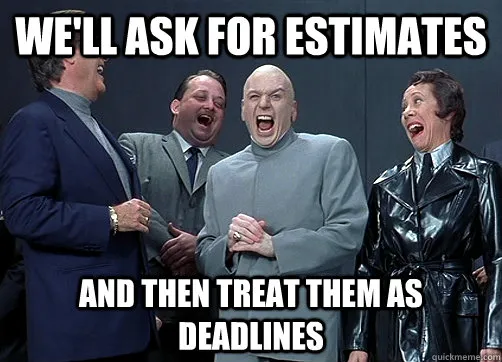
I have two problems with estimations. First, they're way too easy to be taken as a deadline (so much so, that you've probably seen this meme spread around). Which in turn, causes the team to go deeper into estimating stories (breaking them down to single tasks), which causes a feedback loop.
If this keeps up, you'll eventually find yourself going into Waterfall mode where the team needs every single requirement up front before they can do any development, the opposite of what we're trying to do.
Instead of the team focusing on estimations, I'd much rather see them strategize on an approach to the problem and let that be the driver to the work.
One approach that I've seen teams take is to use "relative sizing", so instead of saying that work will take four hours, they might say that it's a "2" (if using the Fibonacci approach) or it's a "Small" (if using T-Shirt sizing).
Side Note: I've also seen fruit and animals as relative sizing options.
The problem I have with relative sizing is that it can be helpful for the team, it's total nonsense for business stakeholders. For example, let's say that we're working on the new Shiny Widget 9000 and Marketing wants to know when it's gong to be ready so that they can start getting the marketing materials ready and start promotion. You can't tell them that it's going to take 108 story points or 16 Mediums as that is meaningless.
They need a timeline, so what does engineering do? They look up historic trends for the team and say something like "We typically get 4 Mediums done in 2 weeks, so we're looking at 2 months, give or take". Which means that we're correlating a relative size to a unit of time. So what value did we gain?
When I think about planning, I'm focusing on stories that are independent, deliver value, and can be accomplished within a sprint. I don't necessarily care if the story is a 2, 3, or 5 as long as the team has a rough approach to the work and understands why we need the functionality.
A Different Approach
Instead of spending time on estimates, what if we approached planning this way?
- Product and Engineering work together to break priorities down to smaller items that can be accomplished in a sprint (remembering to keep them independent).
- Team works together to move the stories in priority order (taking into account dependencies).
- Team takes on the first item.
- Product and Engineering can move/re-prioritize items as needed, but can't modify work in flight.
- As an item is completed, the team takes on the next important item.
This focuses the meeting on the important things (what's important for us to work on, how would we approach it) and less on the things that don't matter (fine-tuned estimations).
For those keeping track, this sounds pretty similar to Kanban (which it absolutely is 😀), but if you're looking for a catchy name, you can call this the Highest Priority Goes First ( or Hippogriff) framework.
Long story short, I'd like to see teams spending less time on estimations and more time on figuring out what the problem is, solutioning, getting feedback, and iterating.
Isn't that what the Agile Manifesto is all about?
Recommended Reading
While working on this post, I found this article by Mountain Goat Software to be immensely helpful in capturing the goals of sprint planning and some external validation that I'm not the only one who's experienced this problem as well.


