Year in Review: 2024
As the year comes to a close, I like to take this time to reflect on the past year: what got done, how do I feel like things are progressing, and are there any changes that I should be working on for the next year.
With that in mind, I generally break my goals into three sections: what progress did I make for my career? what progress did I make for the community, and finally, what progress did I make for myself?
Professional
This year, I focused more on learning about consulting and what a successful engagement looks like. As such, this year was a good year as I've had experience working with both larger companies (Fortune 500) and smaller companies. All in all, I find consulting to be a good application of my skills and is a natural inclination for my process improvement skills.
- Completed engagement with a Fortune 500 client to teach TypeScript and AWS (members were coming from COBOL)
- Mentored two interns and helped get them hired full-time
- Designed a system for custom form creation for an education company (which led to follow-up development work)
- Started coaching engagement for an AgTech company focusing on delivery and process improvements
- Designed a system for database health checks for a Database Administrator as a Service company
To help Lean TECHniques with their Microsoft partnership, I spent time over the summer working on obtaining various Microsoft certifications (I ran out of time before getting the Microsoft Certified: Azure Solutions Architect Expert certificate, but that's on my docket for 2025)
- Earned the Microsoft Certified: Azure Administrator Associate certification
- Earned the Microsoft Certified: Azure Developer Associate certification
- Earned the Microsoft Certified: DevOps Engineer Expert certification
Last, but not least, I spent some time learning some (new to me tech) like GraphQL and basic Java.
- Earned the Graph Developer - Associate certification from Apollo GraphQL
- Was included as an acknowledgement in Pragmatic Unit Testing in Java with JUnit: 3rd Edition by Jeff Langr for my feedback and review before publishing.
Community
On the community side, 2024 was a year of firsts. For example, I hosted and organized Queen City Code Camp, a conference where attendees learned the fundamentals of Test Driven Development (TDD) by solving the Mars Rover kata. This was the first time since 2019 that I organized a conference (and absolutely the first time since I moved to North Carolina), so lots of good lessons learned here.
In another first, I created my first training video, Navigating Mars Using Functional Programming in TypeScript, a Udemy course where I walk you through how to solve the Mars Rover kata using functional programming concepts.
Lastly, I created two new talks this year: How to Make Your Own Automation Framework where I show you how to build your own framework using Deno, TypeScript, and GitHub Action; and How to Build More Resilient Teams where I show you how to use post-mortem and experiments to build high performing teams. In general, I shoot to create one new talk a year and I over-delivered on that goal this year (with 2025 already looking to be in good shape).
Outside of new talks, I authored 23 different blogs posts with my most common topics being Leadership and Functional Programming and presented at 11 different events.
Personal
- Read 32 books in various genres (biographical, investing, leadership, history, consulting, process, science fiction, and general fiction)
- Learned the basics of knitting, made scarves and baby blankets using both seed and garter stitches
- Learned the basics of working with chisels and planes (including sharpening) for woodworking
-
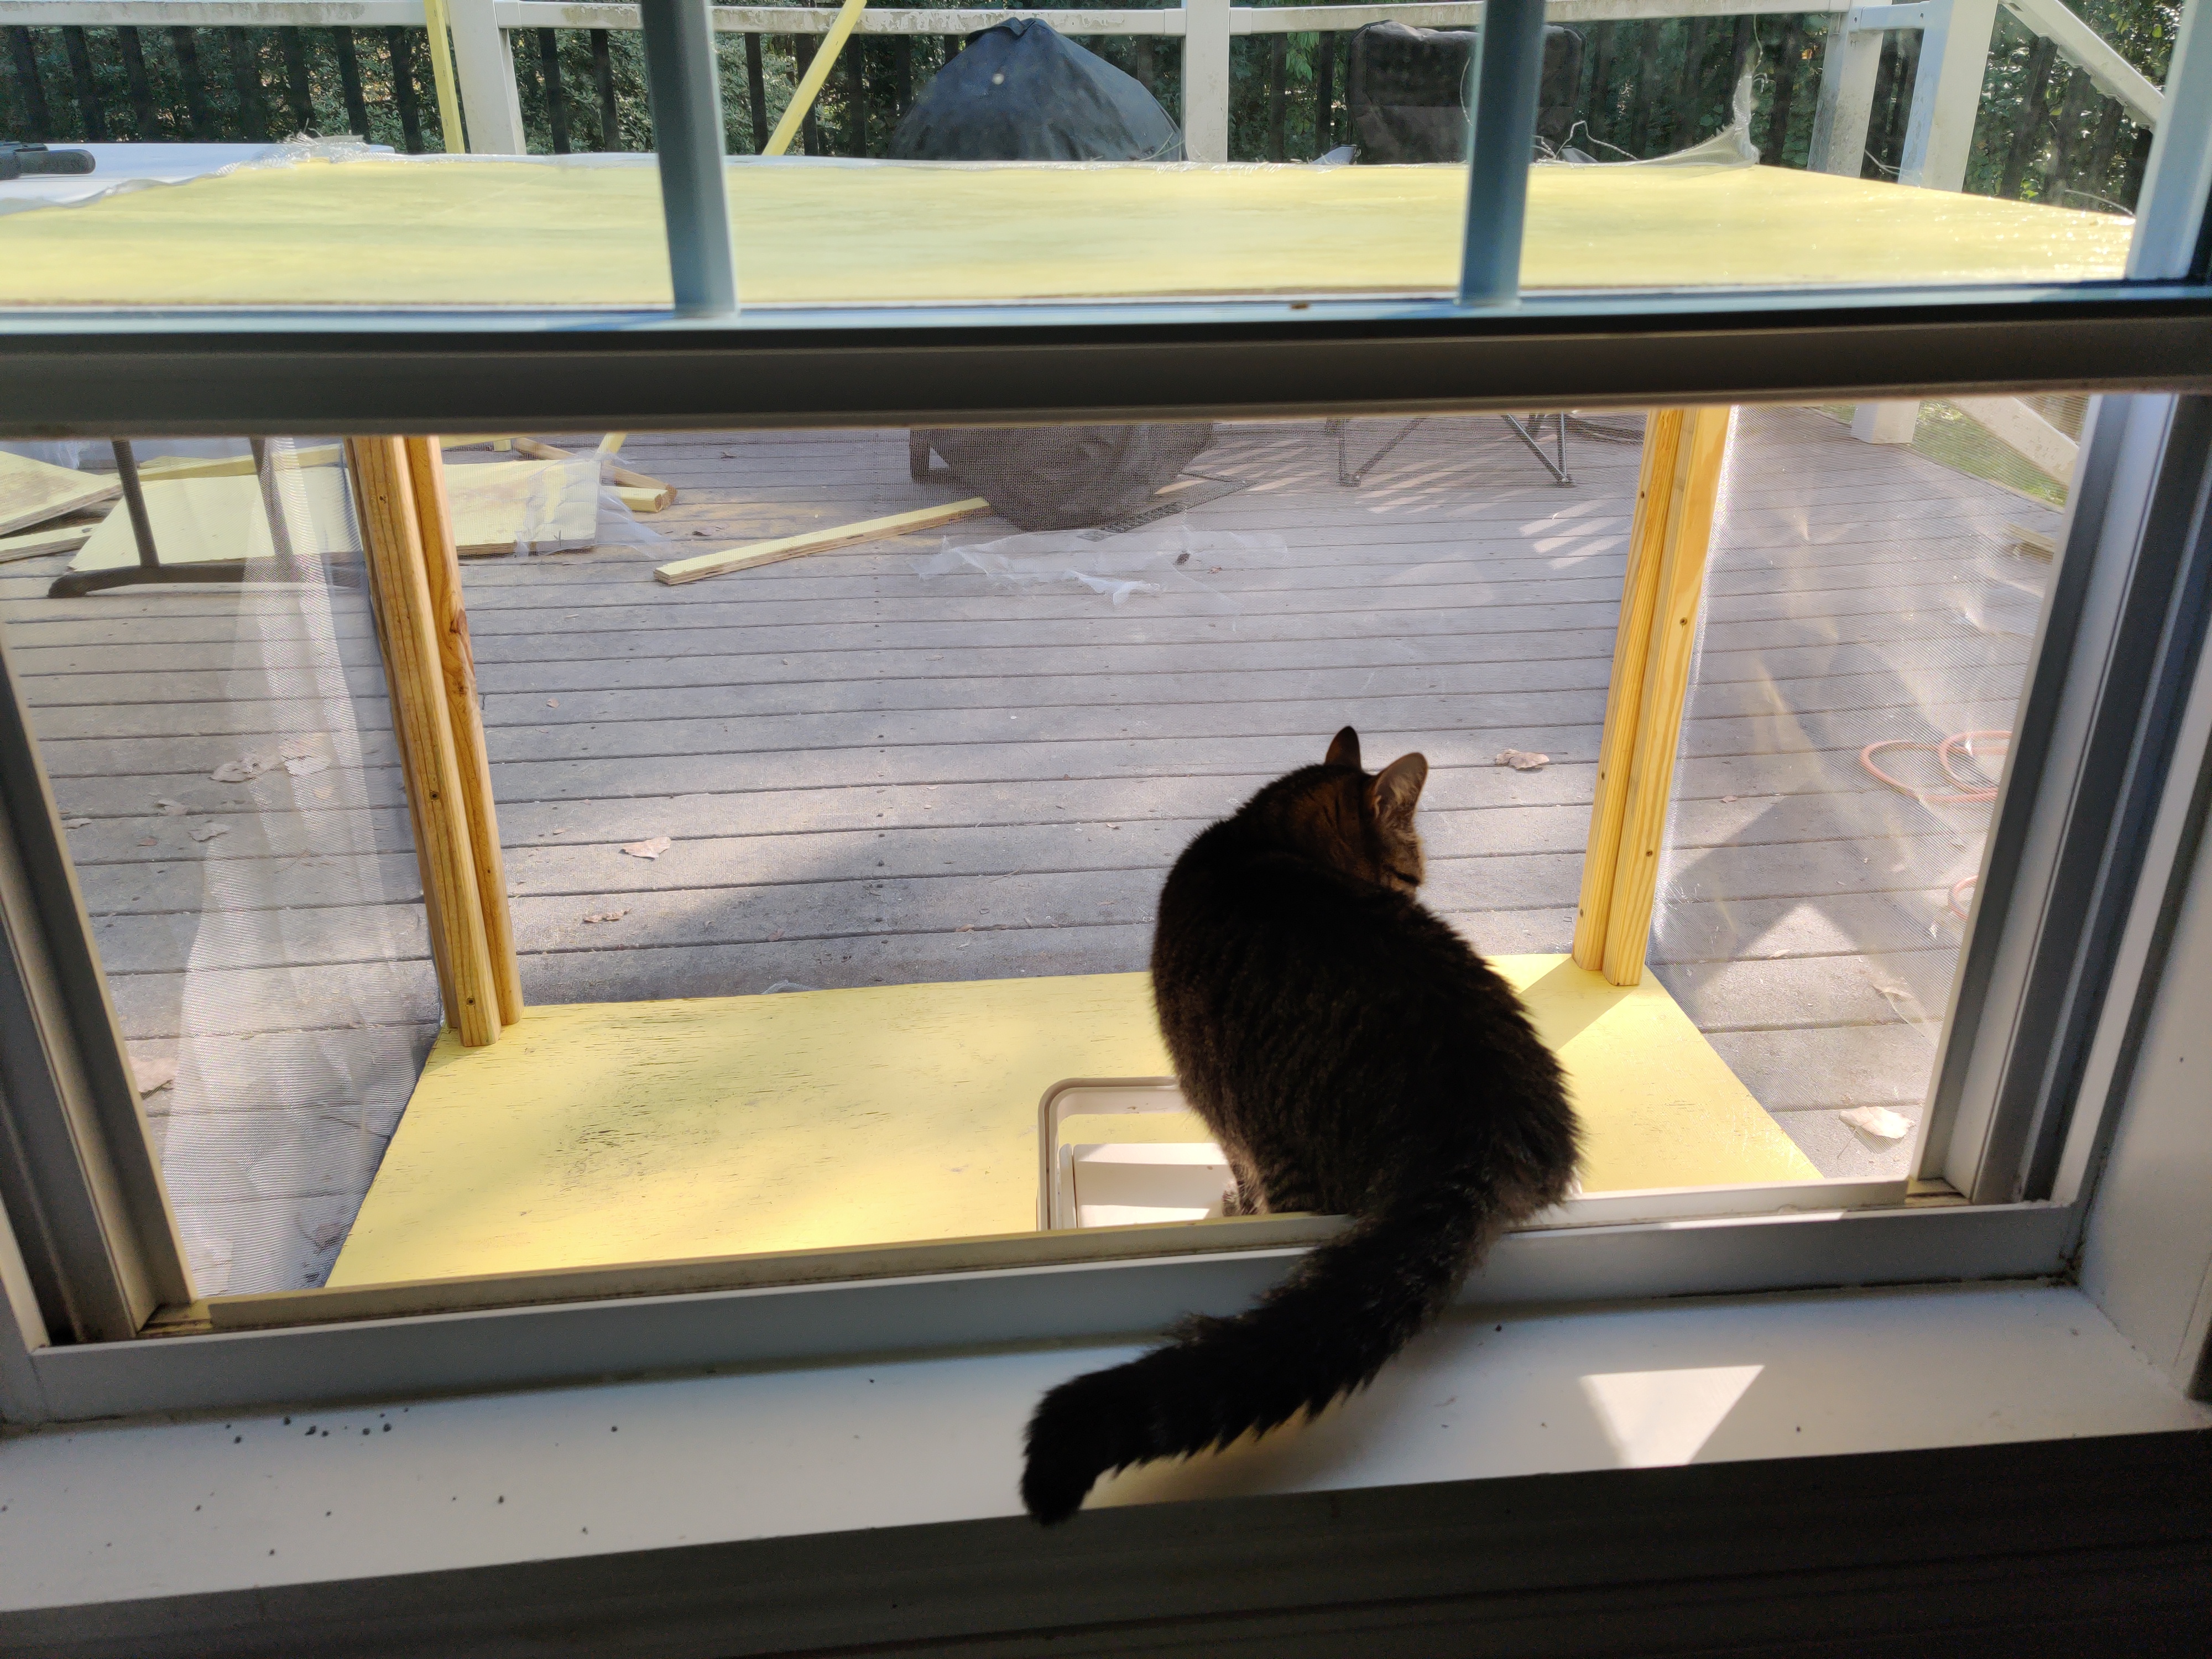
Built a catio for our new cat, Trix.
-
Learned how to make two different kinds of coffee drinks (Americano and Latte)
- Built my first computer from components (major shout-out to Isaac for helping me figure out the components)
- Picked up over 30 bags of trash around the neighborhood
- Volunteered with Cub Scout Pack 58
What Does 2025 Have in Store?
Obtain Three Client Engagements
I've spent plenty of time at step 1 (collect information), but it's now time to start putting that information into use (for better or for worse) and get my own clients. If I'm going to be successful, then I need to apply what I learn, make mistakes, mess up, learn, and iterate. As such, I'm going to expand my connections here in Charlotte, honing in on my ideal client. From there, I can expand and see what makes sense.
Author Two Training Courses
I learned a lot about authoring a training course by going through the Udemy process. Though it has a lower barrier to entry to get started (and they handle a good amount of the marketing), the fact that the pricing can fluctuate so much is a bit bonkers. For example, I have the course listed at $99.99, with a coupon that can bring the price down to $49.99. However, Udemy can then cut the price down to $9.99. On one hand, it increases sales, however, the amount of money made (both for Udemy and myself) is not enough to to cover the cost.
As such, I'll be spending time finding a new platform for 2025 where I can host my training such that the pricing is a bit more in my control. (Udemy, if you could allow course authors to set a floor on their pricing, I'd be so much happier with the service!)
Build a Hope Chest
I come from a long line of makers. My dad worked in construction and manufacturing, various uncles worked as welders, fabricators, and construction, and my grandfather was a carpenter (and moonshiner, but that's a tale for a different day). I've always been fascinated about how things work and how to make them better, hence why I started my journey into woodworking during the pandemic (idle time and I had the space for it).
I spend my work hours building things that either won't be seen by the general public or I can't talk about the project at all, so it can be difficult to explain what I do. Plus, you can't really touch software or applications, you can use them.
Enter woodworking. I can build something with my own two hands and give it to a friend, keep it for myself, or as a lesson for me going forward. I've gotten some experience building small boxes using power tools last year, but I haven't built anything of a certain size and definitely not with hand tools.
My last major goal for 2025 is to build a hope chest as this is a solid piece of fine furniture and it can be something I can pass down to my children when it comes time.
Building this is would be tougher than anything I've built up to this point, however, it should be in the realm of my knowledge. The challenge with this build will be using strictly hand tools to build it out. It'll take me longer and it probably won't be as nice as if I had used machines, but at the end of the day, I can say that I made it.


