Migrating for Jest to Vitest, Easier Done Than Said
For the longest time, when I was setting up a test suite in the JavaScript ecosystem, I'd heavily rely on using Jest, there were plenty of docs and the defaults were pretty reasonable (for example, as long as your files ended with .spec.ts, they'd get picked up). I've been a proponent of Jest for long enough that I even used Jest as the testing framework in my Mars Rover Udemy Course.
However, I've recently been struggling to get TypeScript and Jest to work together.
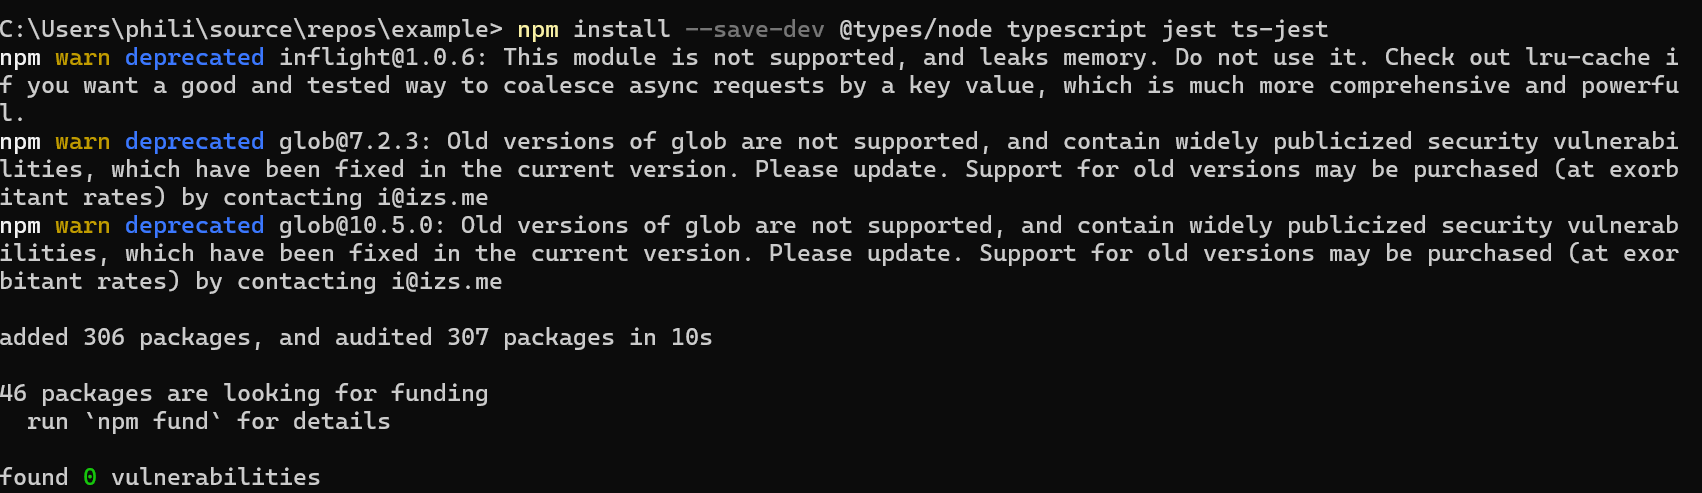
First, here's what happens when you spin-up a new repo and install the libraries.
Right off the bat, my confidence has taken an (albeit) small hit. Looking into glob, it's being used by Jest, but it's not been upgraded in a while. I could probably manipulate my lock file to get around it, but the better solution would be to fix the issue within Jest itself.
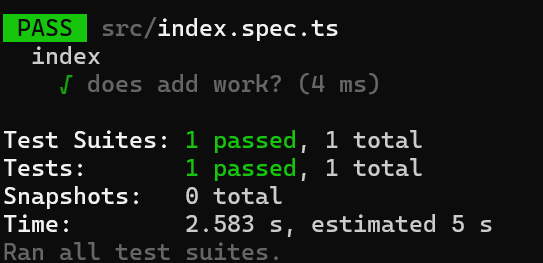
Next, let's create a basic function and import it into a test file
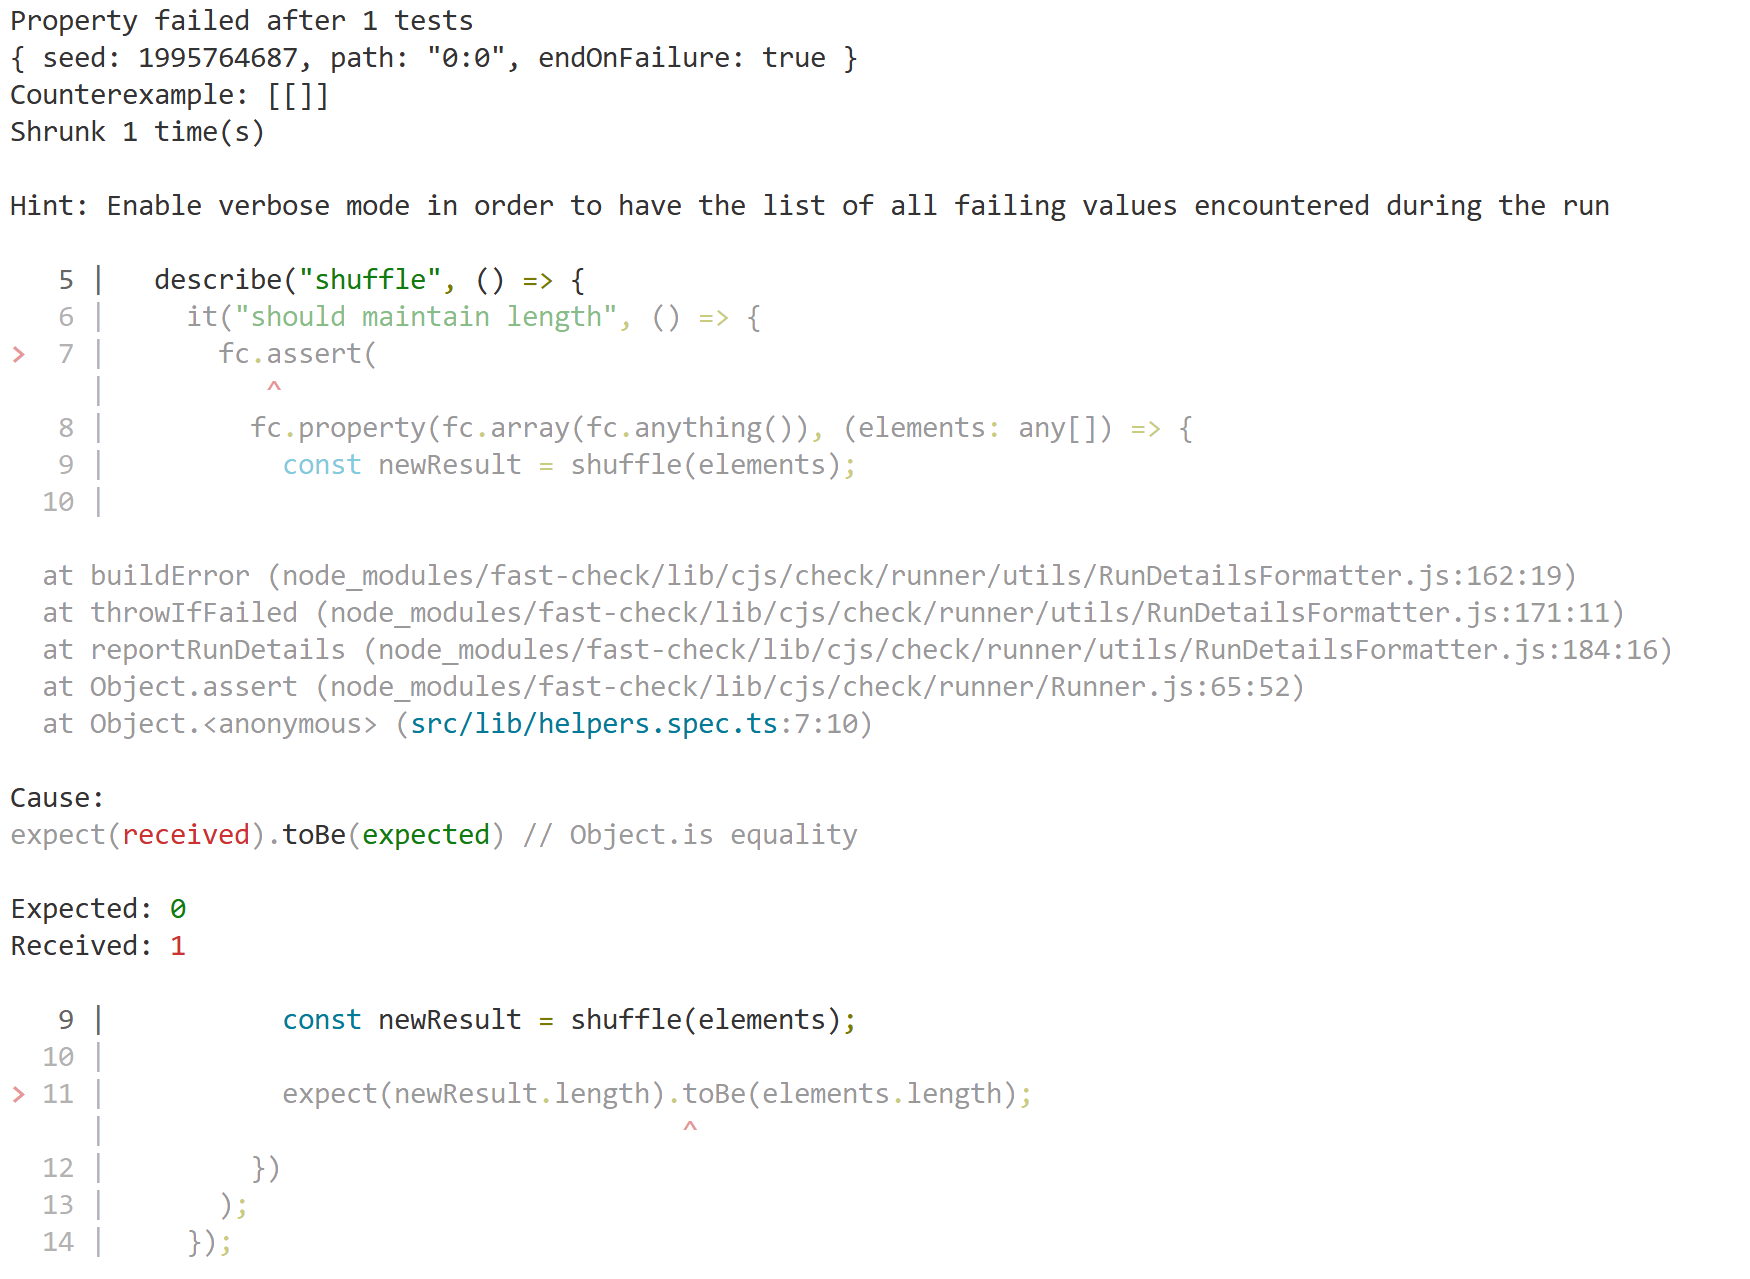
I've also added the additional tooling (ts-node, @types/jest) for everything to line-up. However, when I run my test command (jest), here's what I get
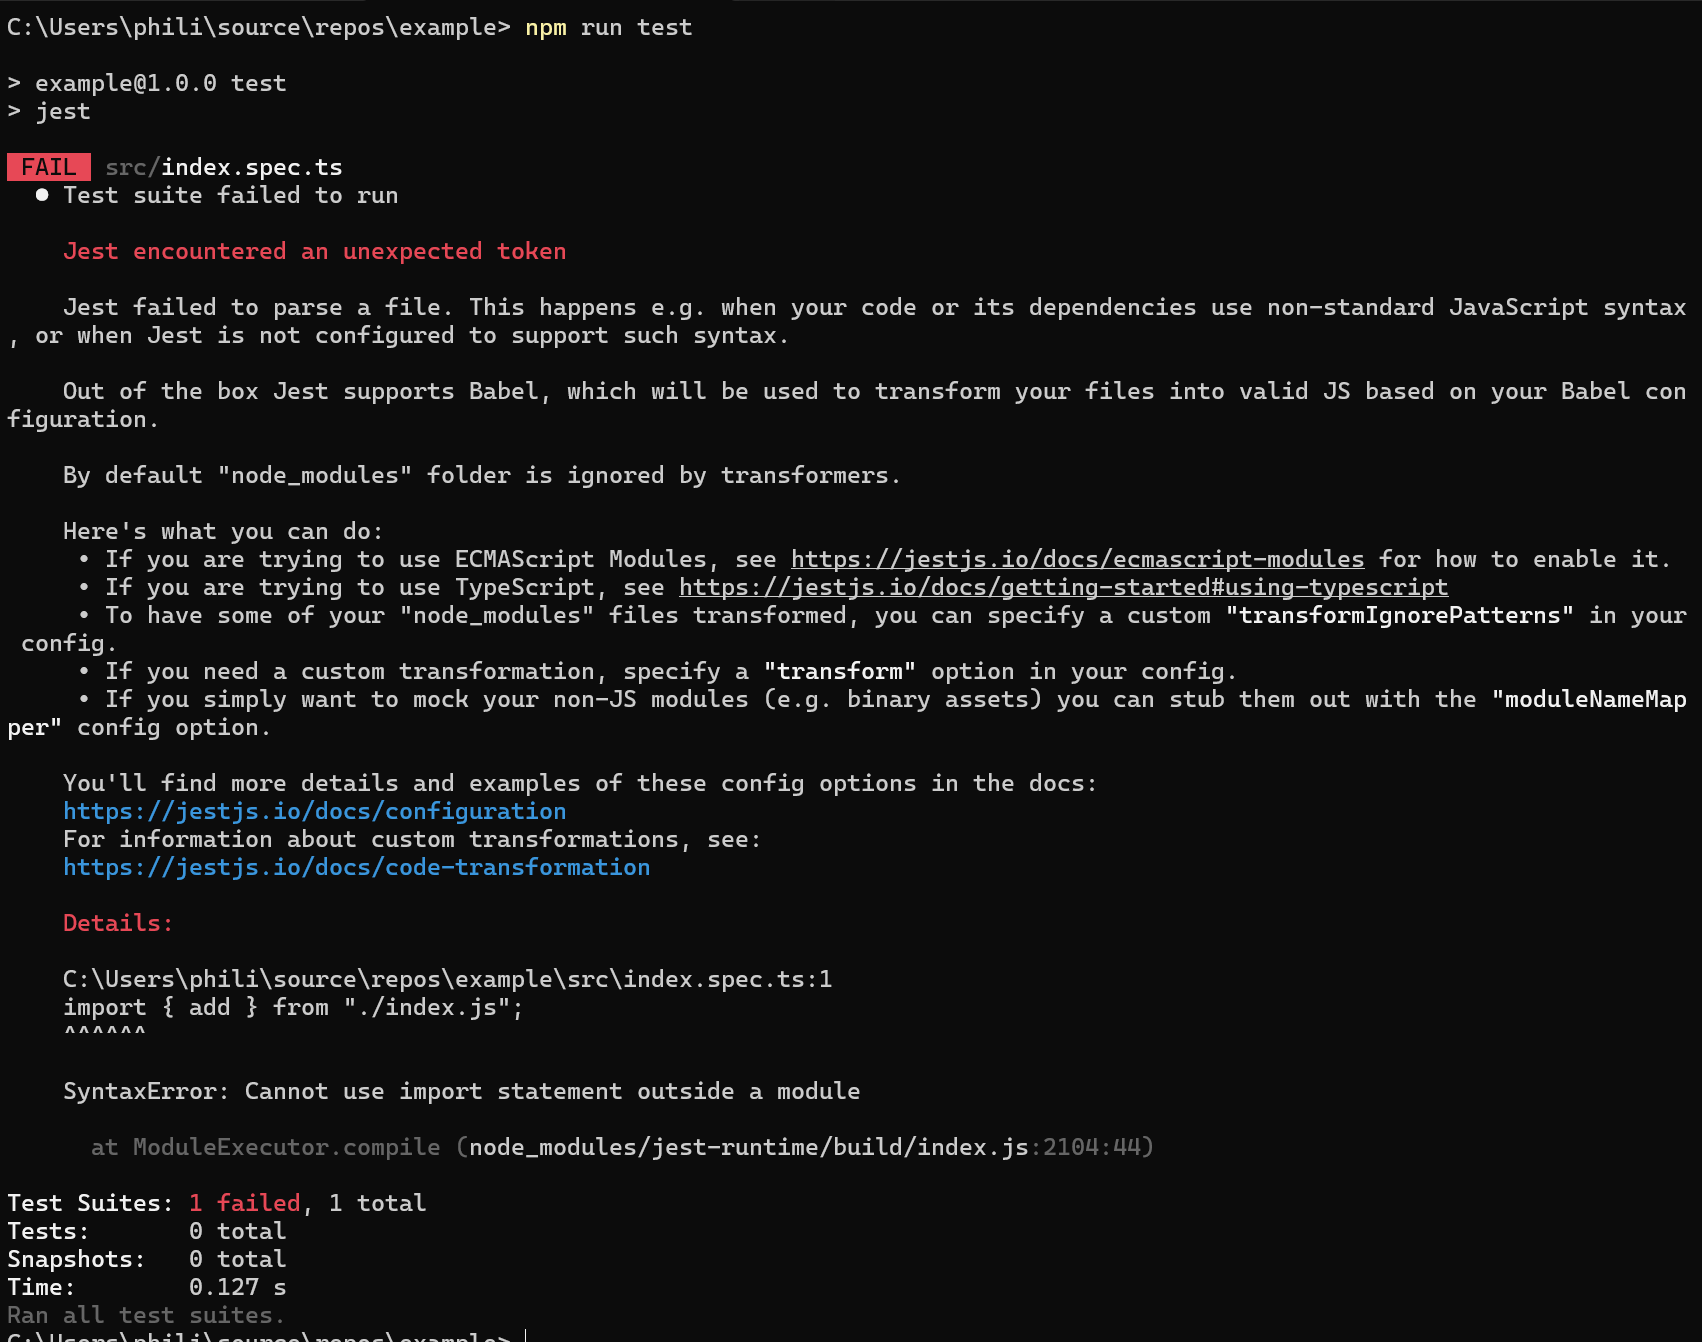
Clearly, it doesn't like the fact that I'm using module for my package.json (instead of commonjs). However, when I look at the docs for jest, there's a bunch of configuration/set-up if you're wanting to use ECMAScript Modules. The main warnings that caught my eye are that ESM is under experimental support, which means it could break or not function, which is not something I want my test suite to do. It can be challenging to write tests and putting additional friction for developers to do the right thing isn't something I want to do.
When setting up a project, I strive to only have the essential complexity and reduce the amount of accidental complexity, so jumping through multiple hoops, setting up configuration files, setting Node environment flags, and other settings isn't going to work for me. Time to start looking at other solutions.
I've been experimenting with Vite a new build tool in the JS/TS space and I was aware of a testing framework, Vitest. Given the familiarity, let's give this a shot.
But I'm Not Using Vite, Is That a Problem?
My first concern was that we would need to set-up Vite in order to use Vitest as I don't want to have to include a full-blown build toolchain just for writing tests. However, I was pleasantly surprised to find out that you can use Vitest independent of Vite. So let's take a look at that set-up.
Configuring Vitest with TypeScript
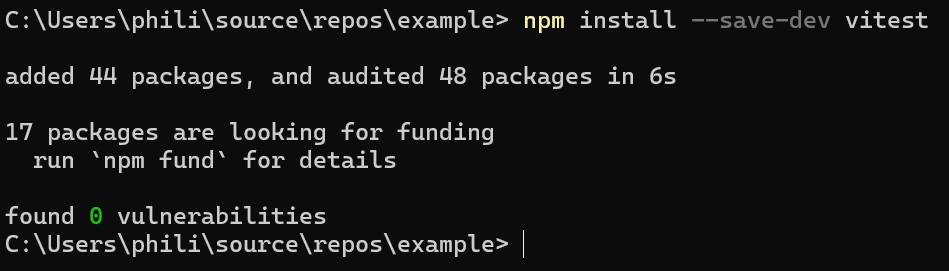
Installing Vitest
It's as simple as running your package manager's install command for vitest.
Creating Configuration File
So if you're already using Vite, Vitest can use the same configuration files (making this step not needed). However, since we're not using Vite, we do need to create the file. Thankfully, the docs have an example we can start with.
Updating TypeScript Config File
Even though we have the APIs registered as global, we need a way to tell TypeScript where to find the testing types. We can do this by modifying the types field in the tsconfig.json file.
Updating Test Command
With the configuration done, we can update our test command in the package.json file
No Need to Update Tests?
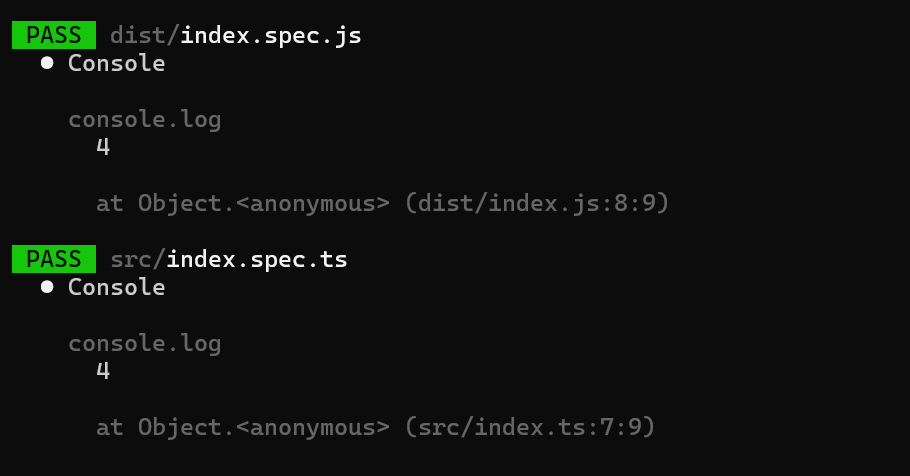
From my limited experience, it seems like Vitest is a drop-in replacement for Jest, so I've not had to update my tests to accommodate the new framework.
Wrapping Up
In this post, I showed you the pain points I ran into when spinning up new projects to use Jest, why I decided to look elsewhere and my experience with Vitest.